
TL;DR
- Administrators have an important role to play.
- They are responsible for ensuring Endpoint Protector is kept up to date with the latest releases, as well as configuring and monitoring your data protection policies.
- If administrative limitations/permissions need to exist, you can assign Administrators to different Groups.
- Edit Administrator profiles to add additional layers of security (for example, 2FA).
Administrators have an important role to play in the success of your Endpoint Protector deployment. Not only are they responsible for ensuring Endpoint Protector is up to date with the latest releases, but they also play a critical role in deploying and maintaining the DLP policies that will keep your organization safe.
In this Academy Guide, we’ll share the steps required to add Administrators in Endpoint Protector and, given the privileged level of access they have, how to manage their permissions.
Adding new Administrators
Login to Endpoint Protector and navigate to the System Configuration section. Next, select ‘System Administrators.’ Please note; if you have not yet modified the default administrator login, it is recommended that you do so before adding additional Administrators.
You can now begin adding Administrators by using the ‘Create’ button. If administrative limitations/permissions need to exist, be sure to define the appropriate ‘Administrator Groups’ when creating the Administrator account. In general, multiple Administrator Groups can be assigned to an account; unless the ‘Read Only’ group option is used. To find the group list, locate ‘Administrators Groups’ under the ‘System Configuration’ section.
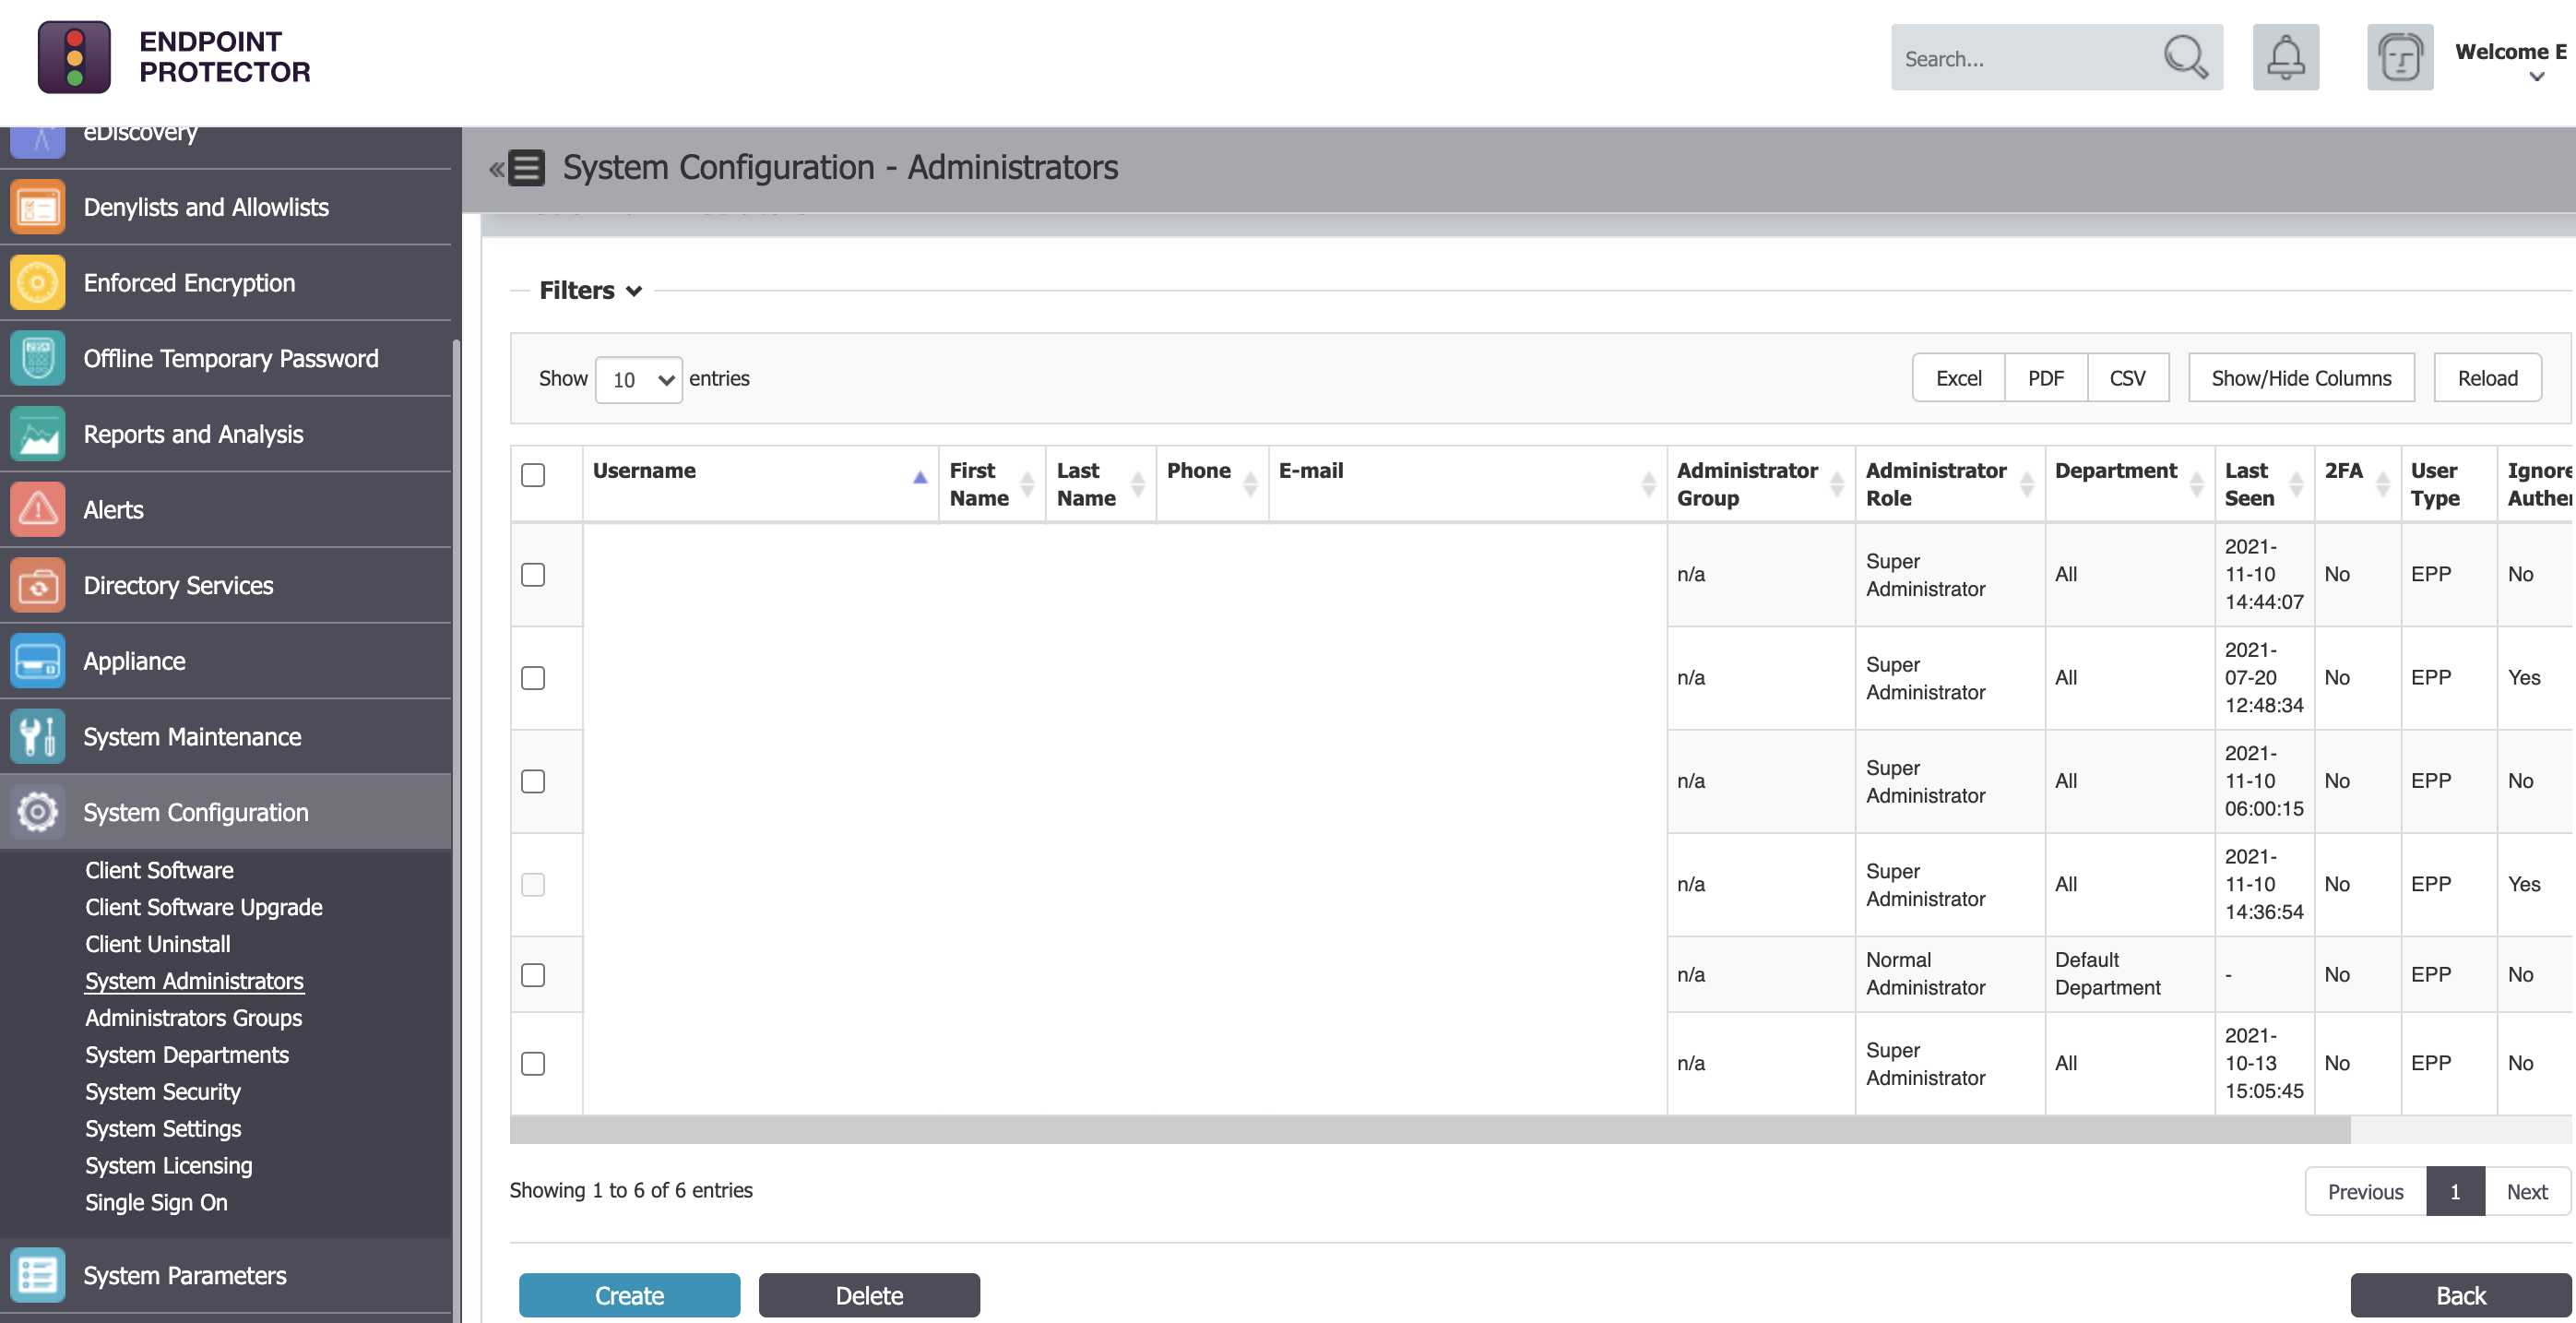
Click the image for full resolution.
Editing Administrator Accounts
Editing Administrators is managed through the same ‘System Administrators’ section. To edit an existing account, click the icon in the “Actions” column against the account you want to edit. Select “Edit.”
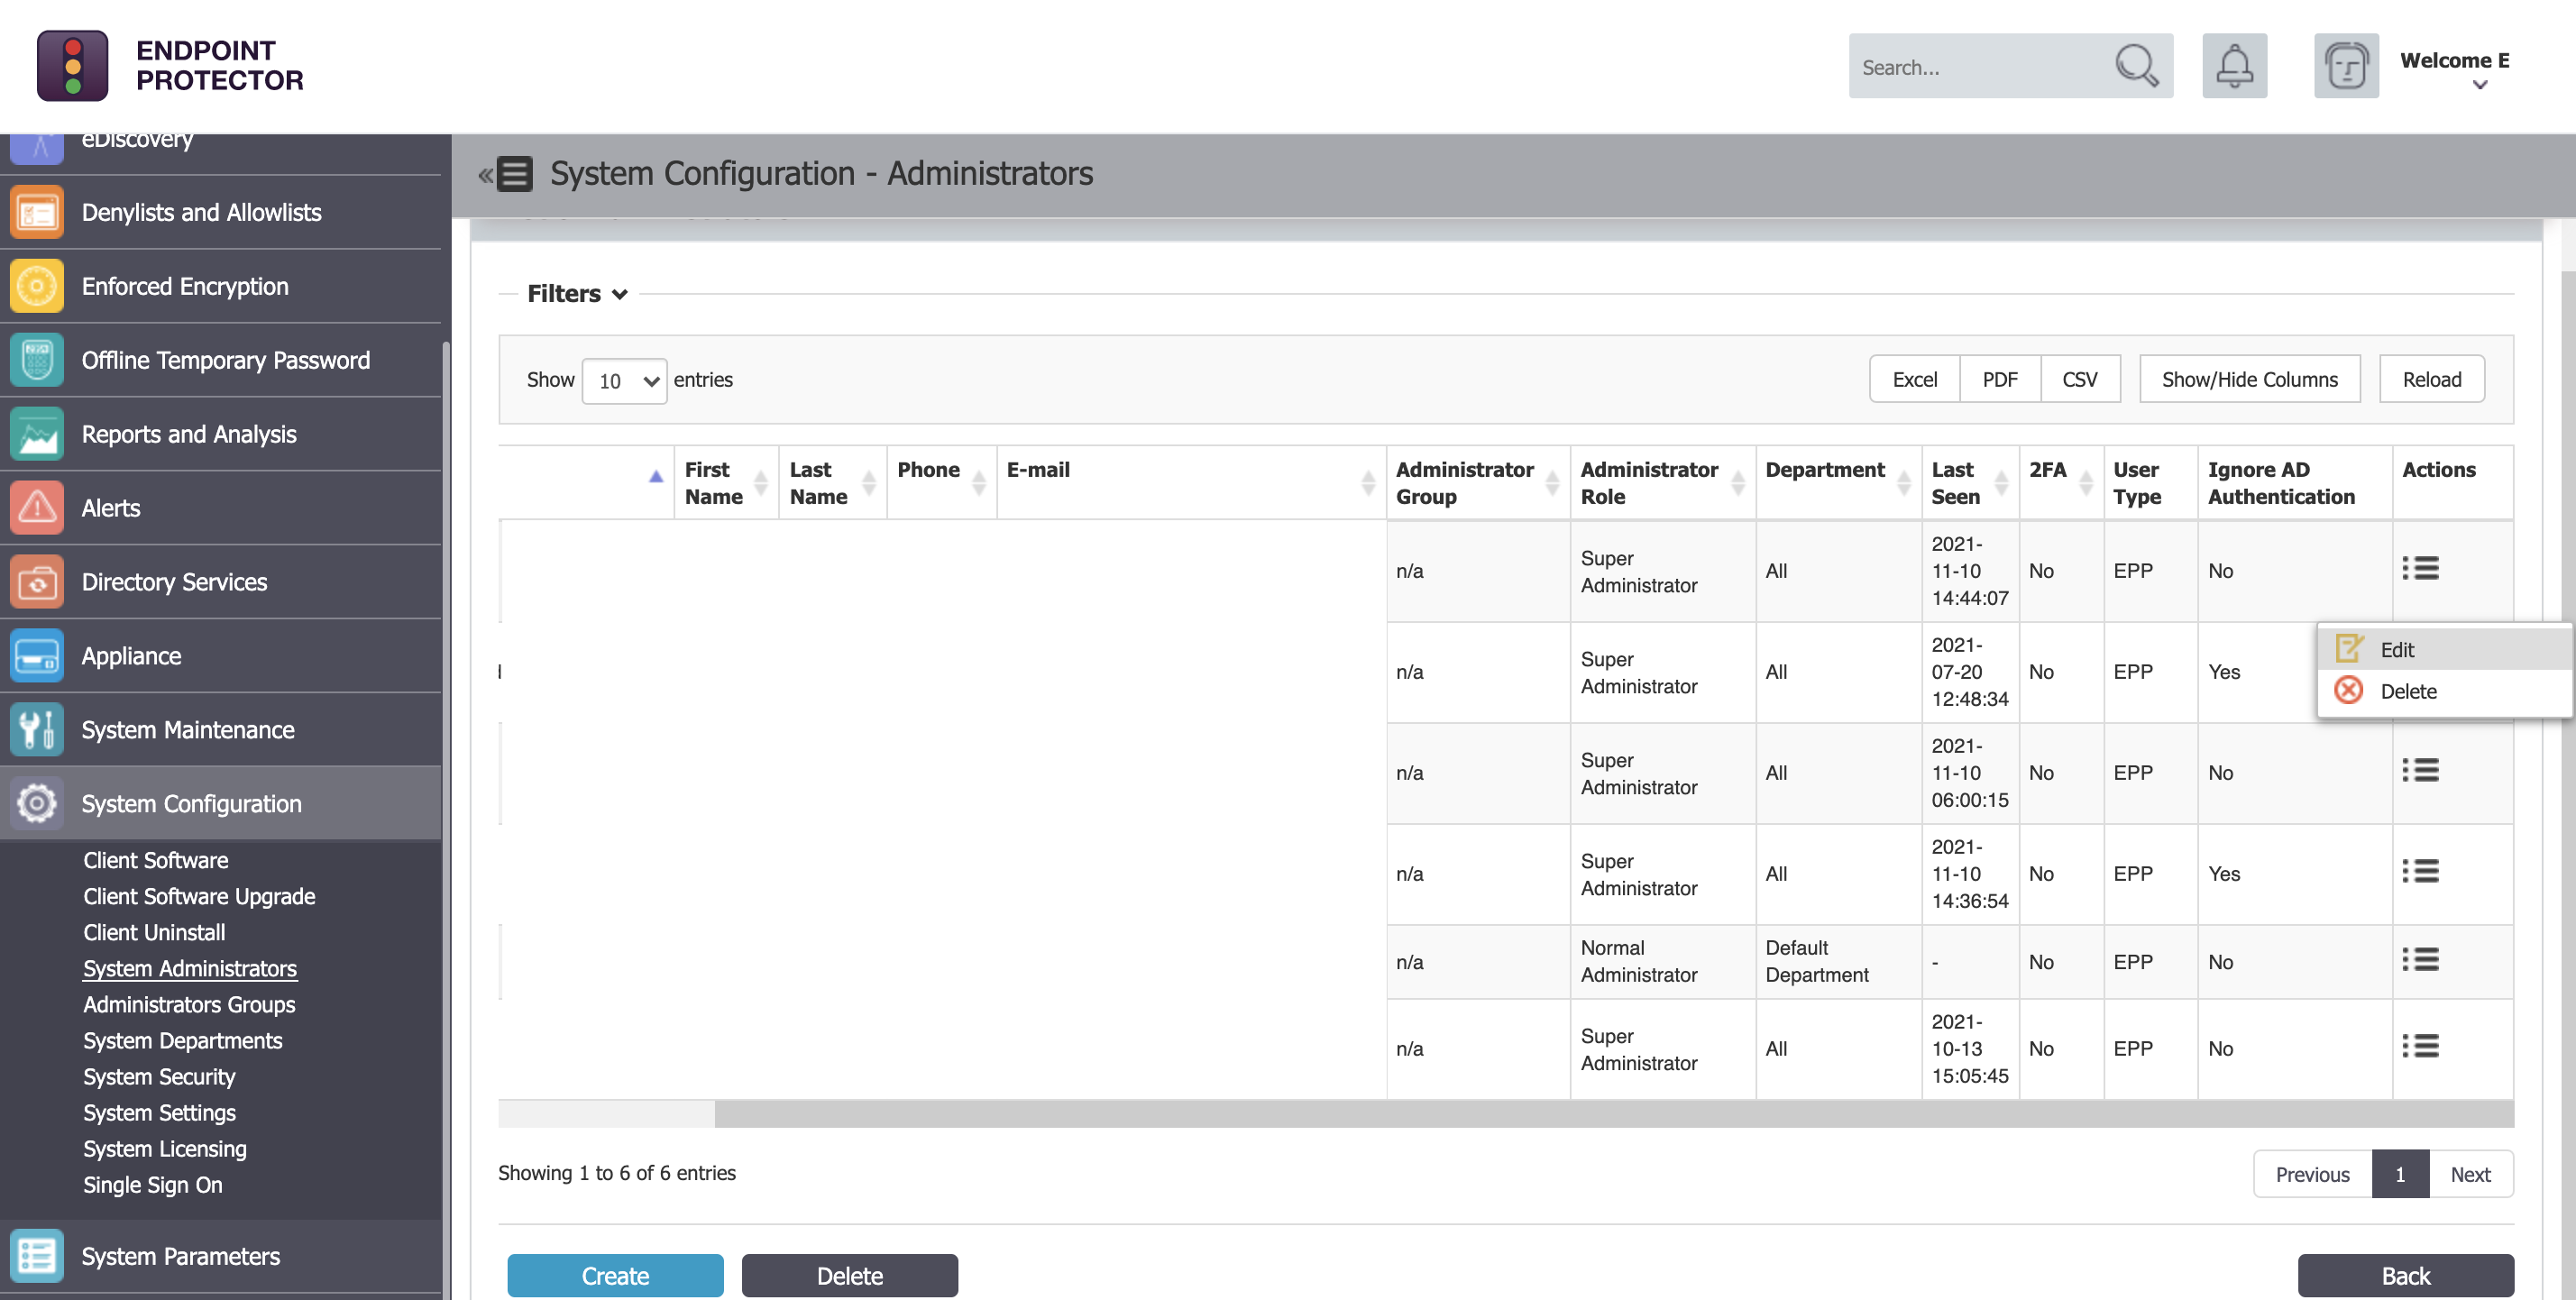
Click the image for full resolution.
You will be directed to the account page, where you can make modifications (see image below). This includes basic user information, such as UI language and security controls that you may wish to apply to ensure an additional layer of protection for your organization. For example, enabling 2FA, restricting failed login attempts, and enforcing the login IP address. This page will also present an overview of the Administrator Groups the user is assigned to.
Given the level of control that Administrators have in the system, it is recommended that you review and apply these controls where possible.
Finally, for those that require the very highest level of control within Endpoint Protector, use the ‘Super Administrator’ toggle.

Click the image for full resolution.
Once all changes have been made, scroll down and select the ‘Save’ button. If no changes are intended, use the ‘Back’ button or simply navigate to another section – either of these actions will behave as a cancel, and no changes will be made to the existing account.
Need help?
If you’d like further information and guidance on setting up your Administrator accounts, please reach out to your Customer Success Manager, or get in touch with our support team at support@endpointprotector.com.
Download our free ebook on
Data Loss Prevention Best Practices
Helping IT Managers, IT Administrators and data security staff understand the concept and purpose of DLP and how to easily implement it.


